
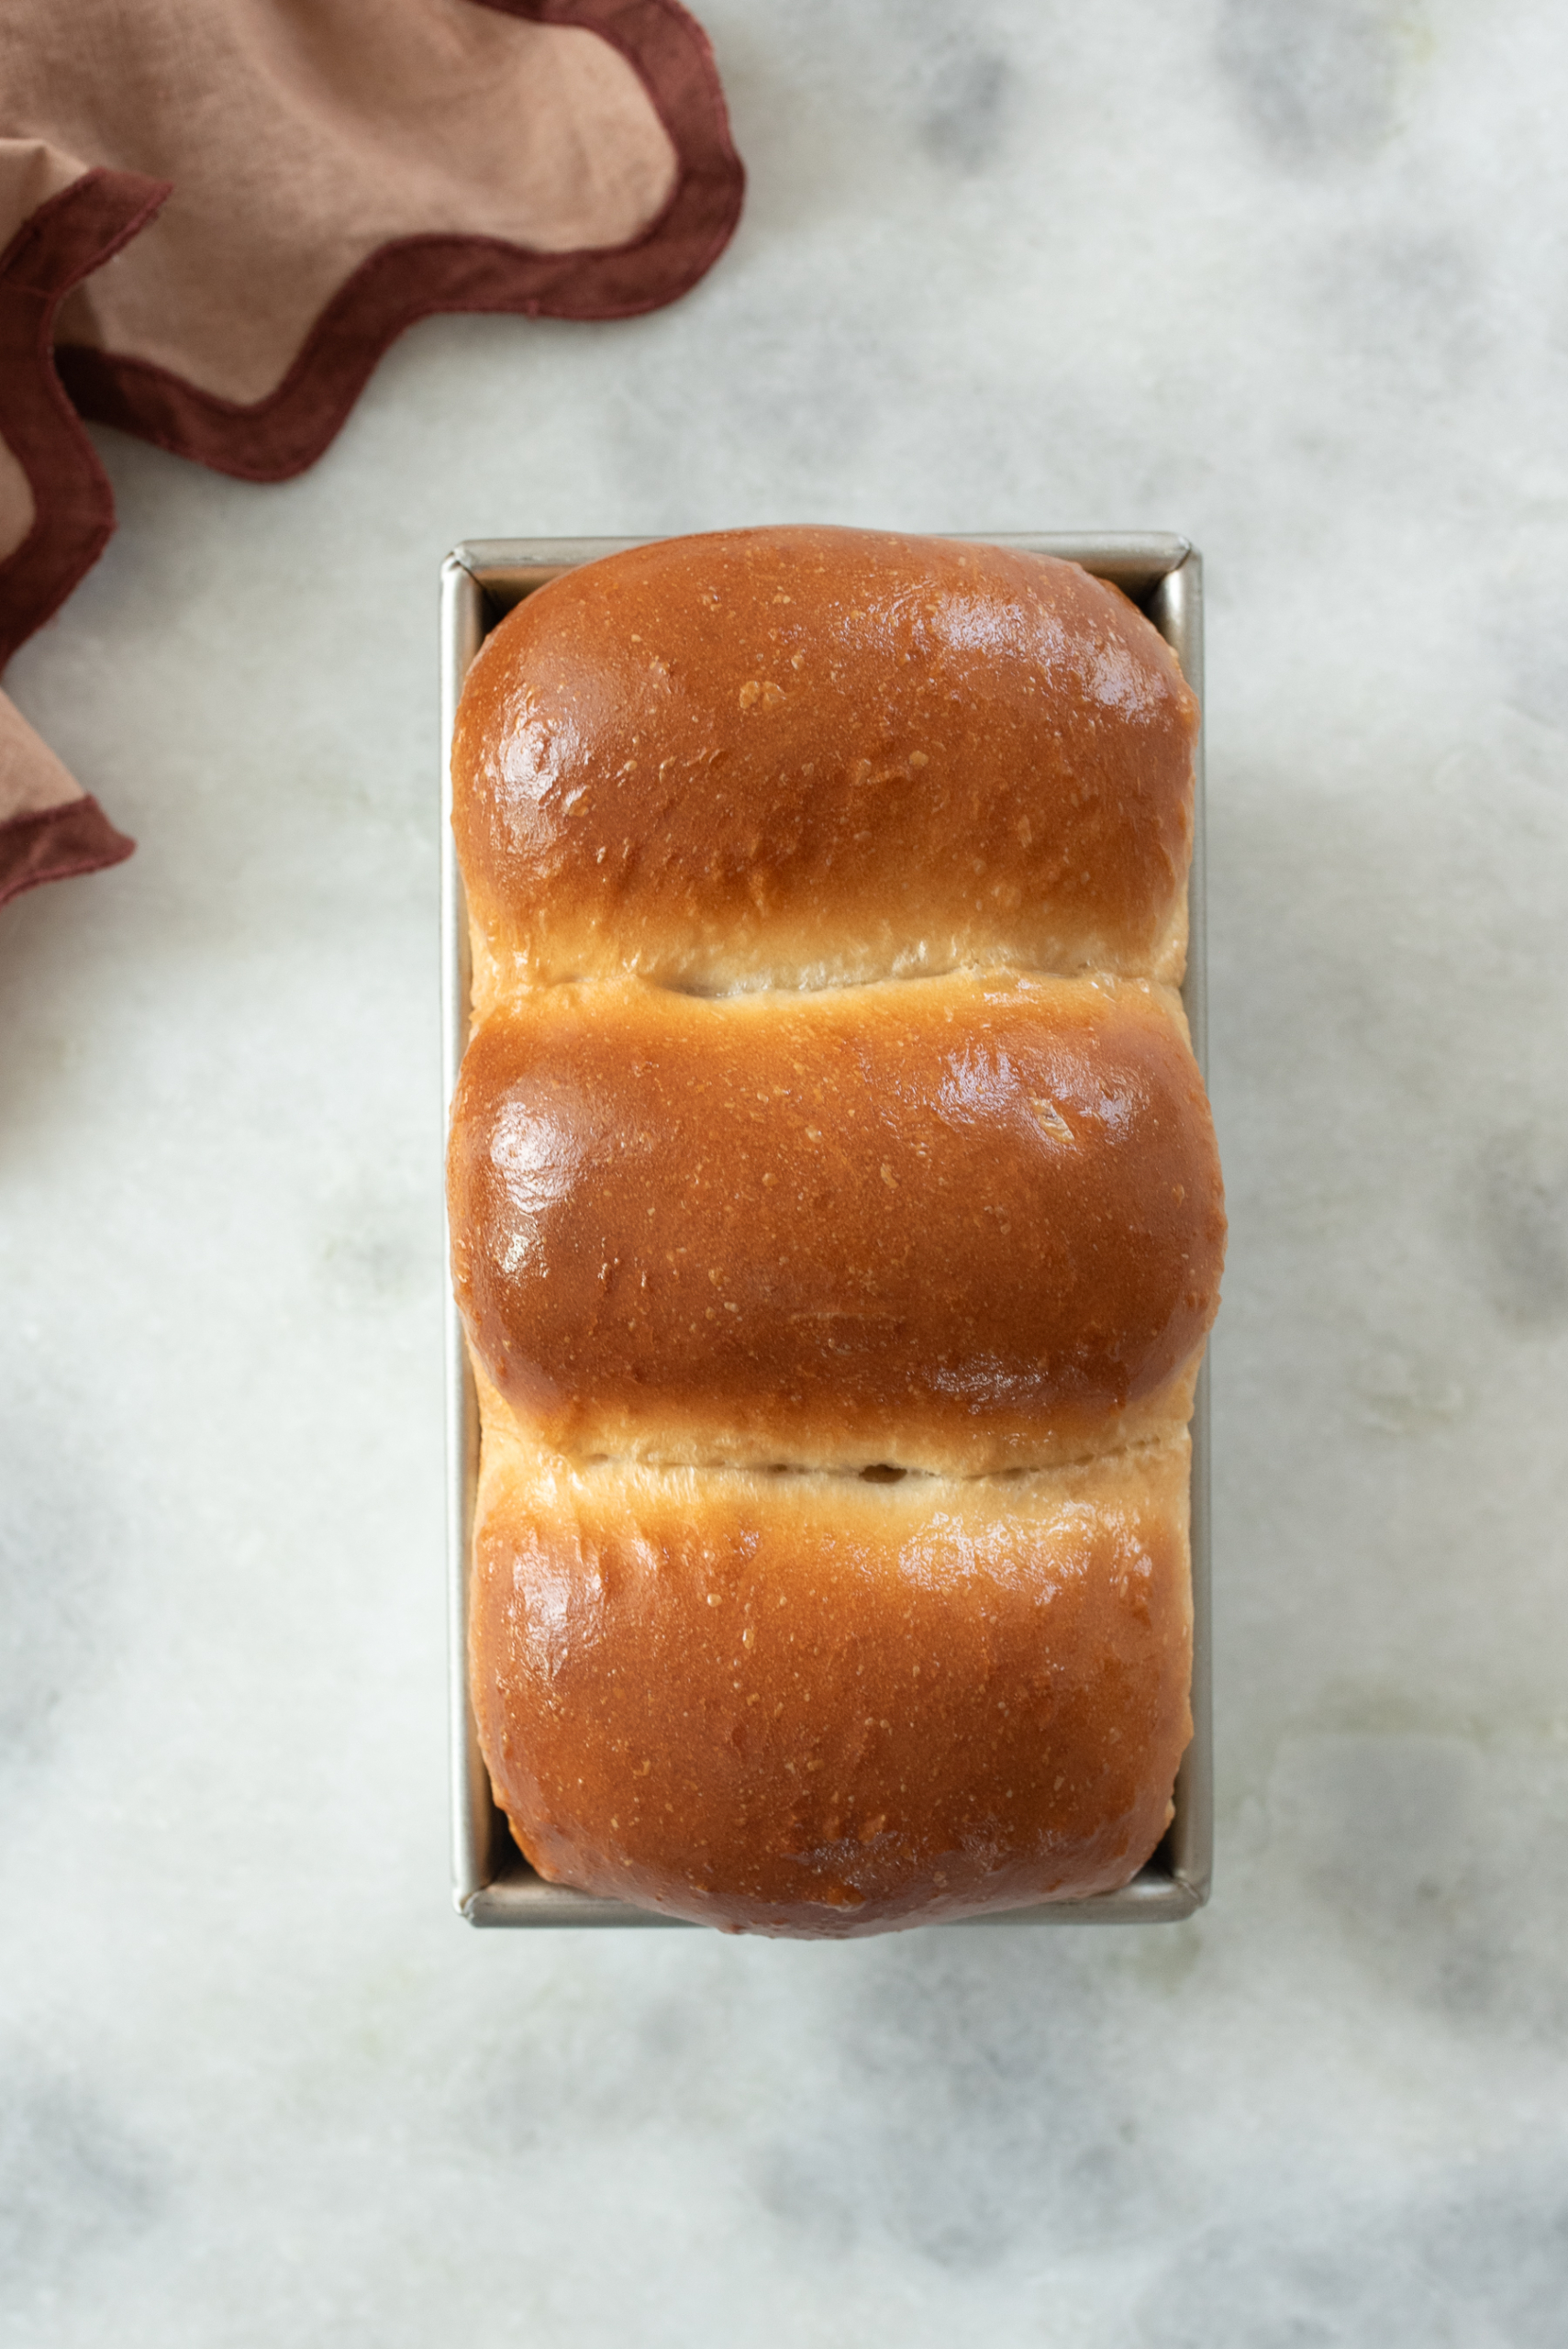
If you’re like me, you have a sourdough starter named Yeastie Boys and grand plans to have fresh bread around at all times. I’m actually doing pretty well with the latter, but is it true sourdough? Well, no. I never plan ahead enough to have the starter actually act as the bread’s leavener. Enter: sourdough discard bread.
It’s essentially the same thing as any sourdough, only instead of using live starter, you use discard + instant yeast so you still get a good rise.
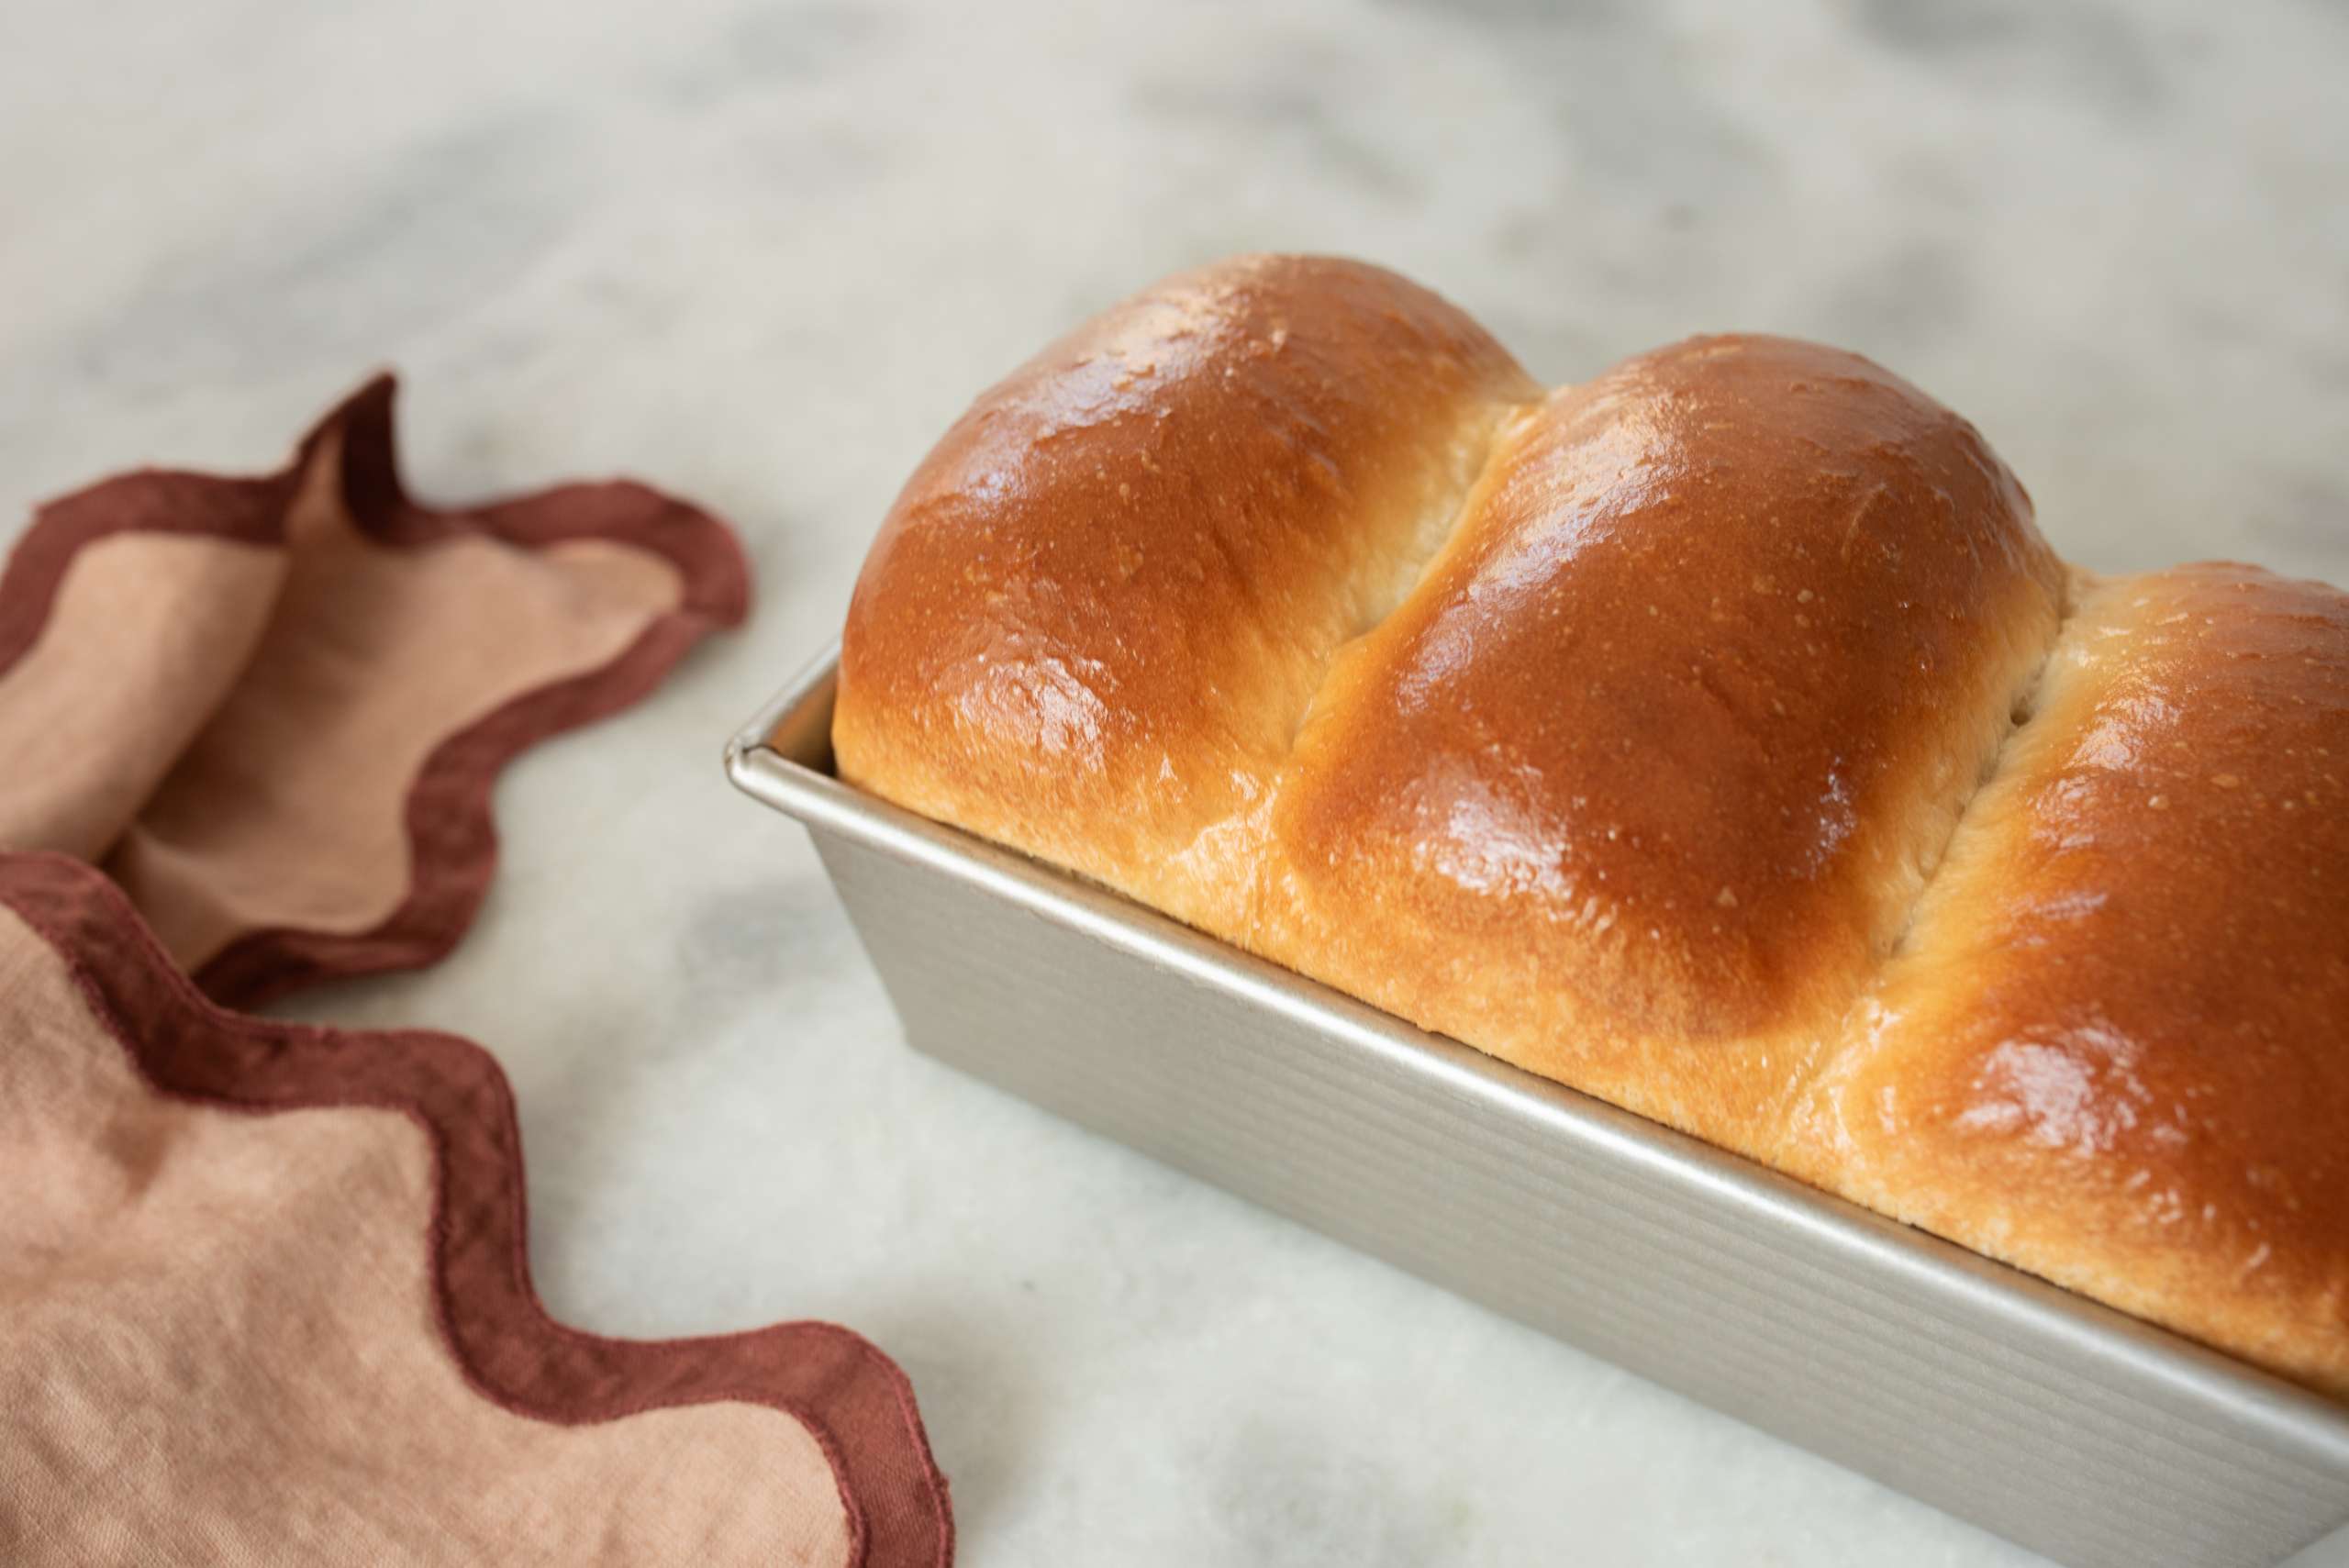
The other day I was itching to make a softer sandwich bread rather than an artisan loaf, so I came up with this little recipe. And honestly? It turned out amazing.
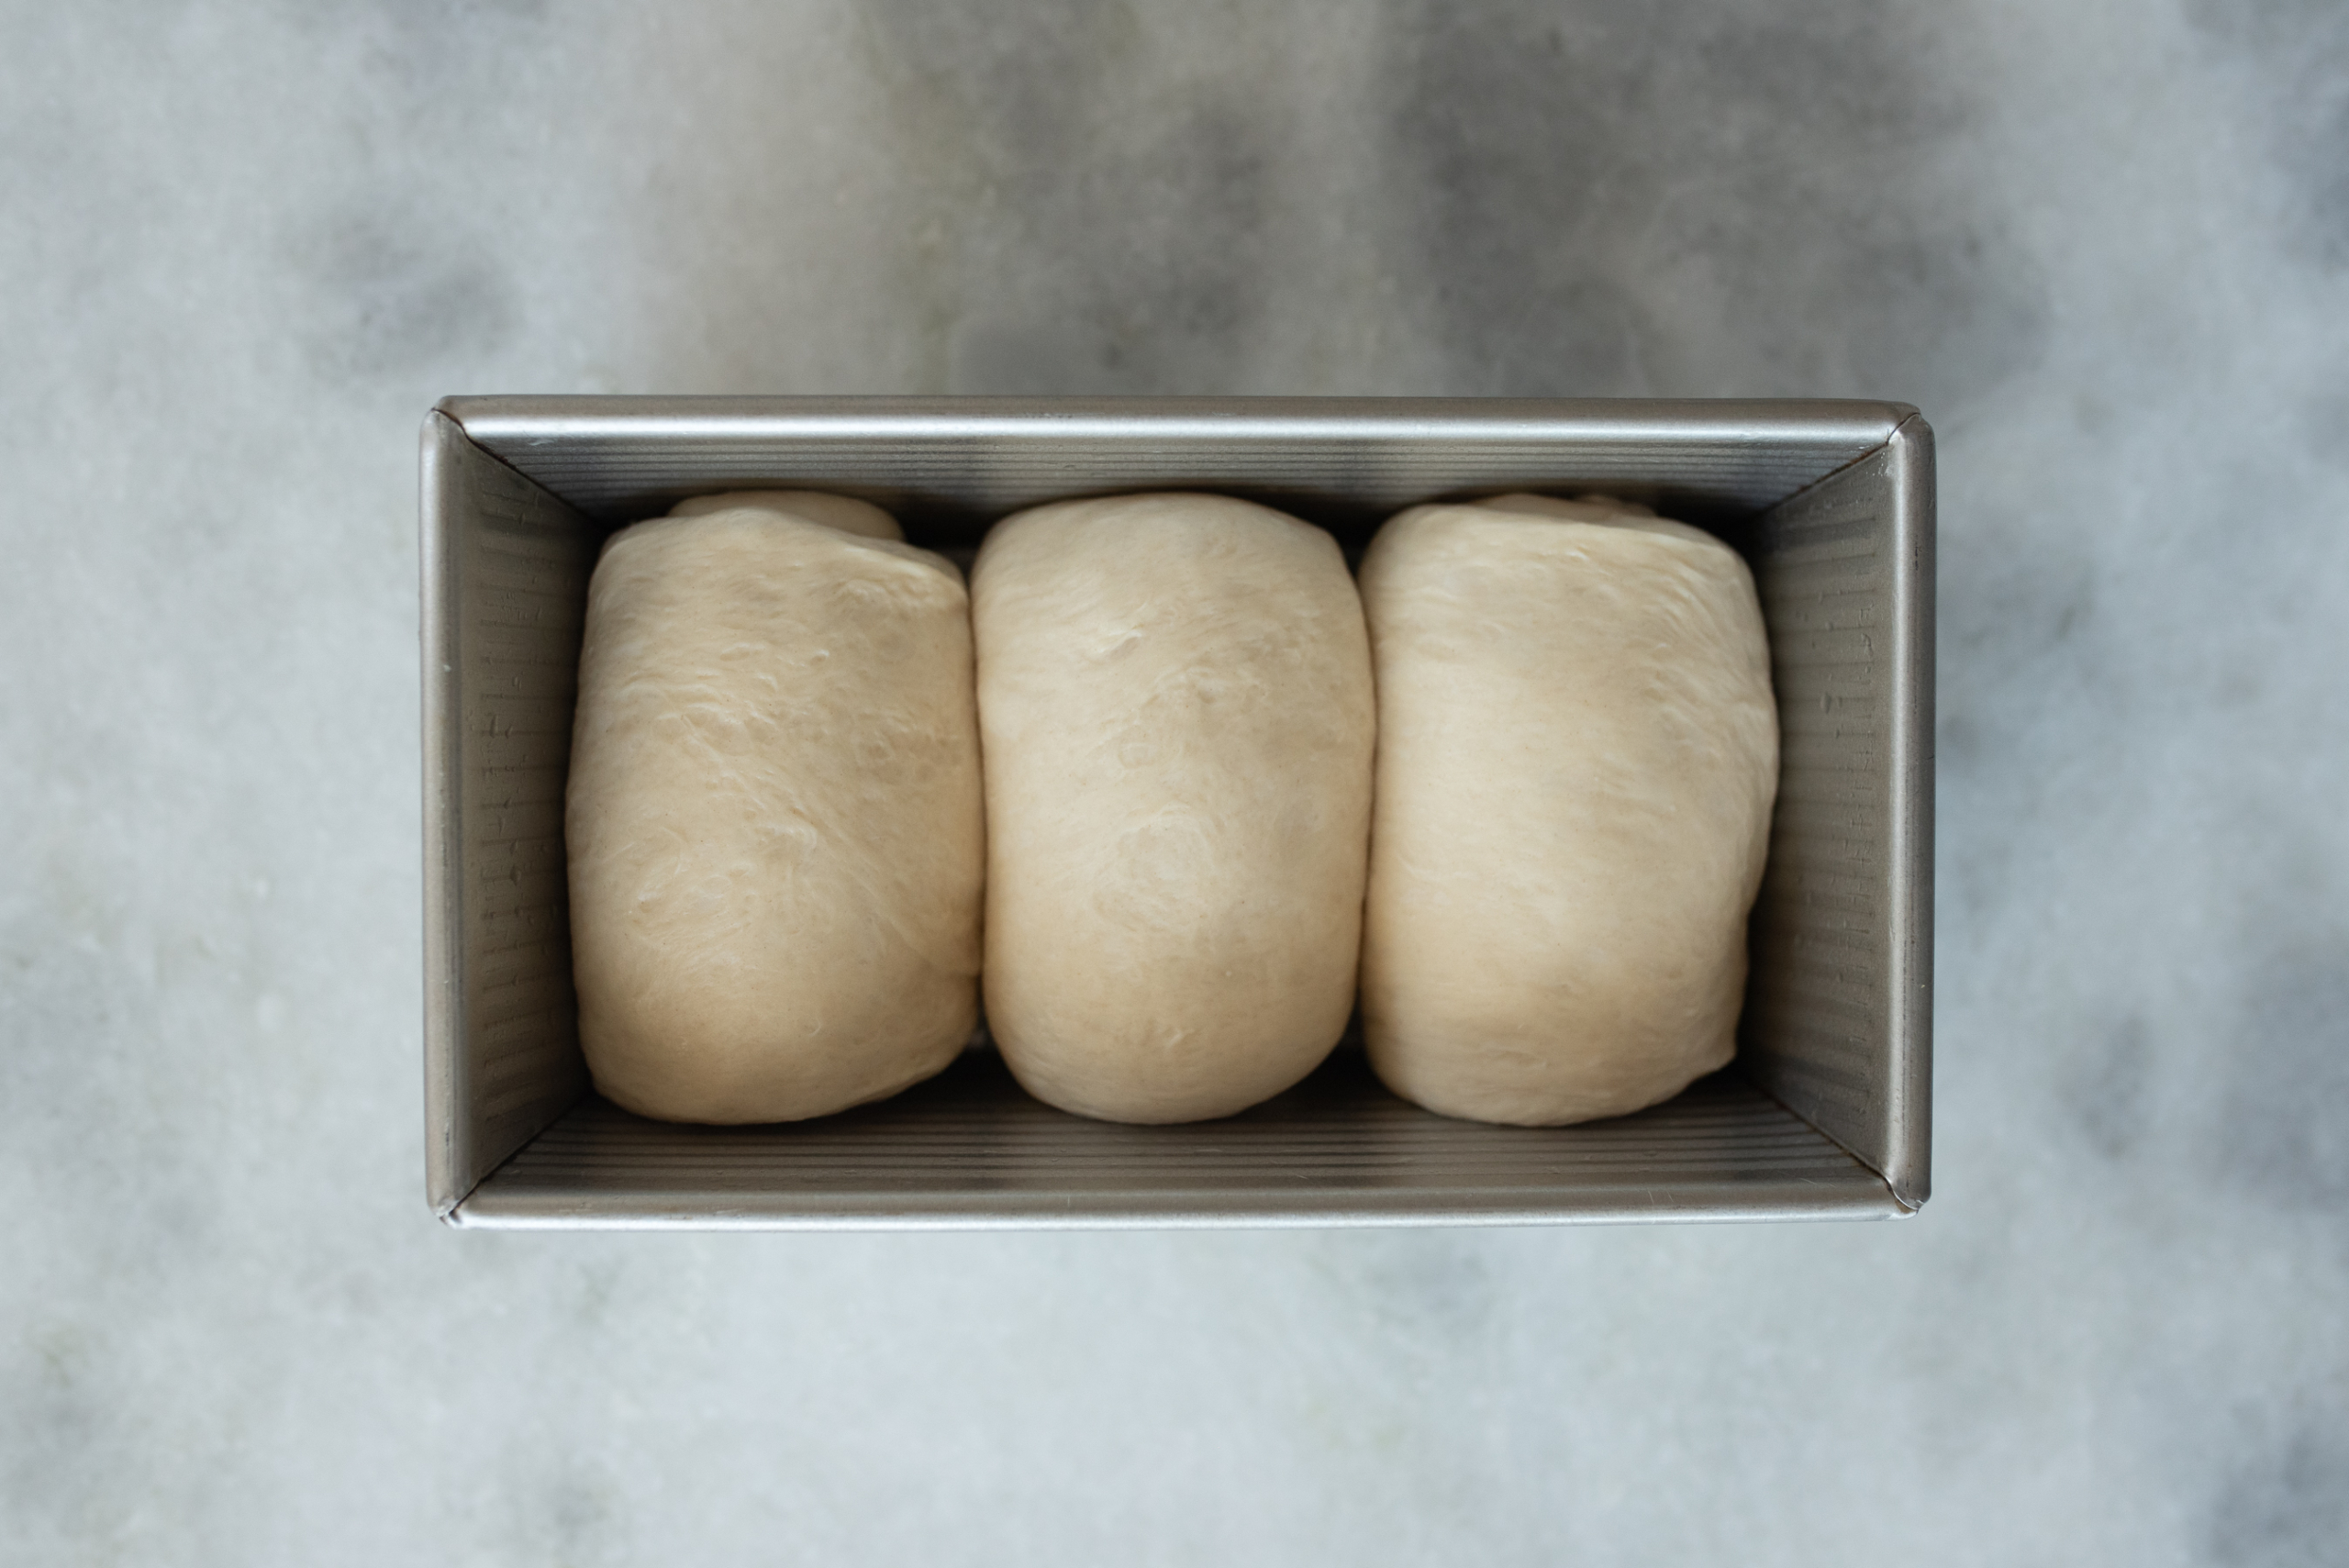
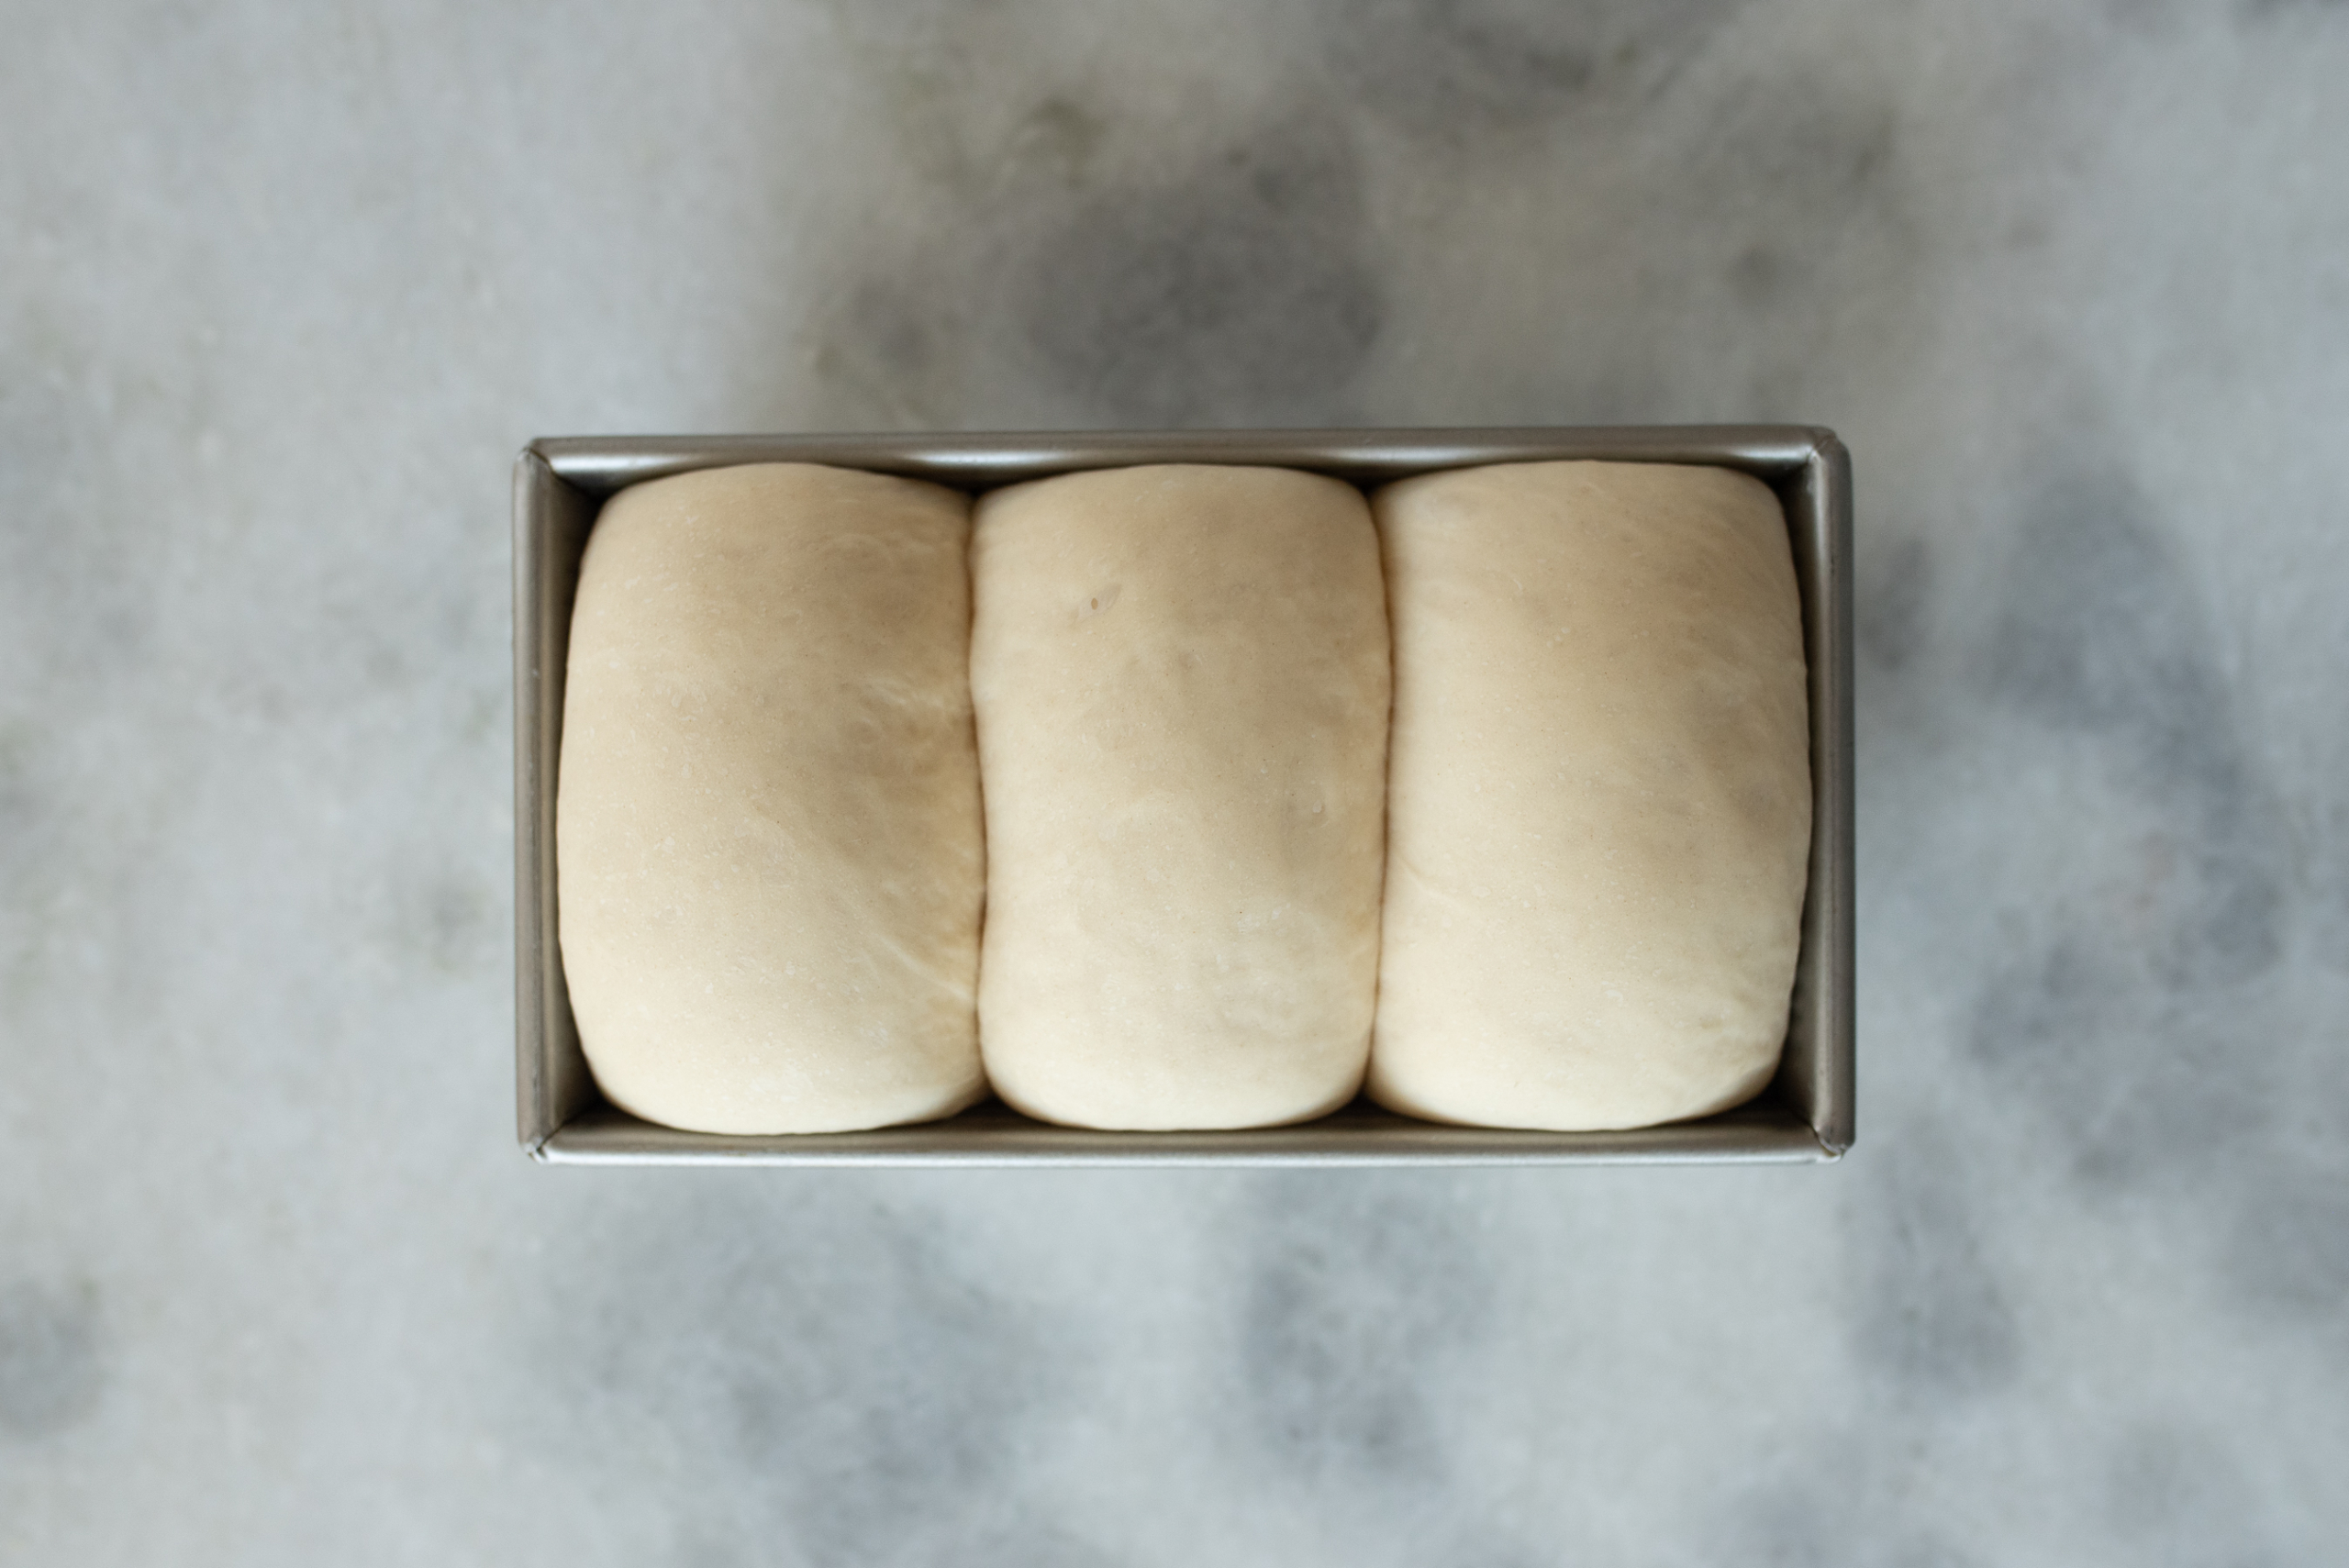
I’ve taken to dividing the dough into three pieces before baking, like so. Before the final proof:
And…after the final proof:
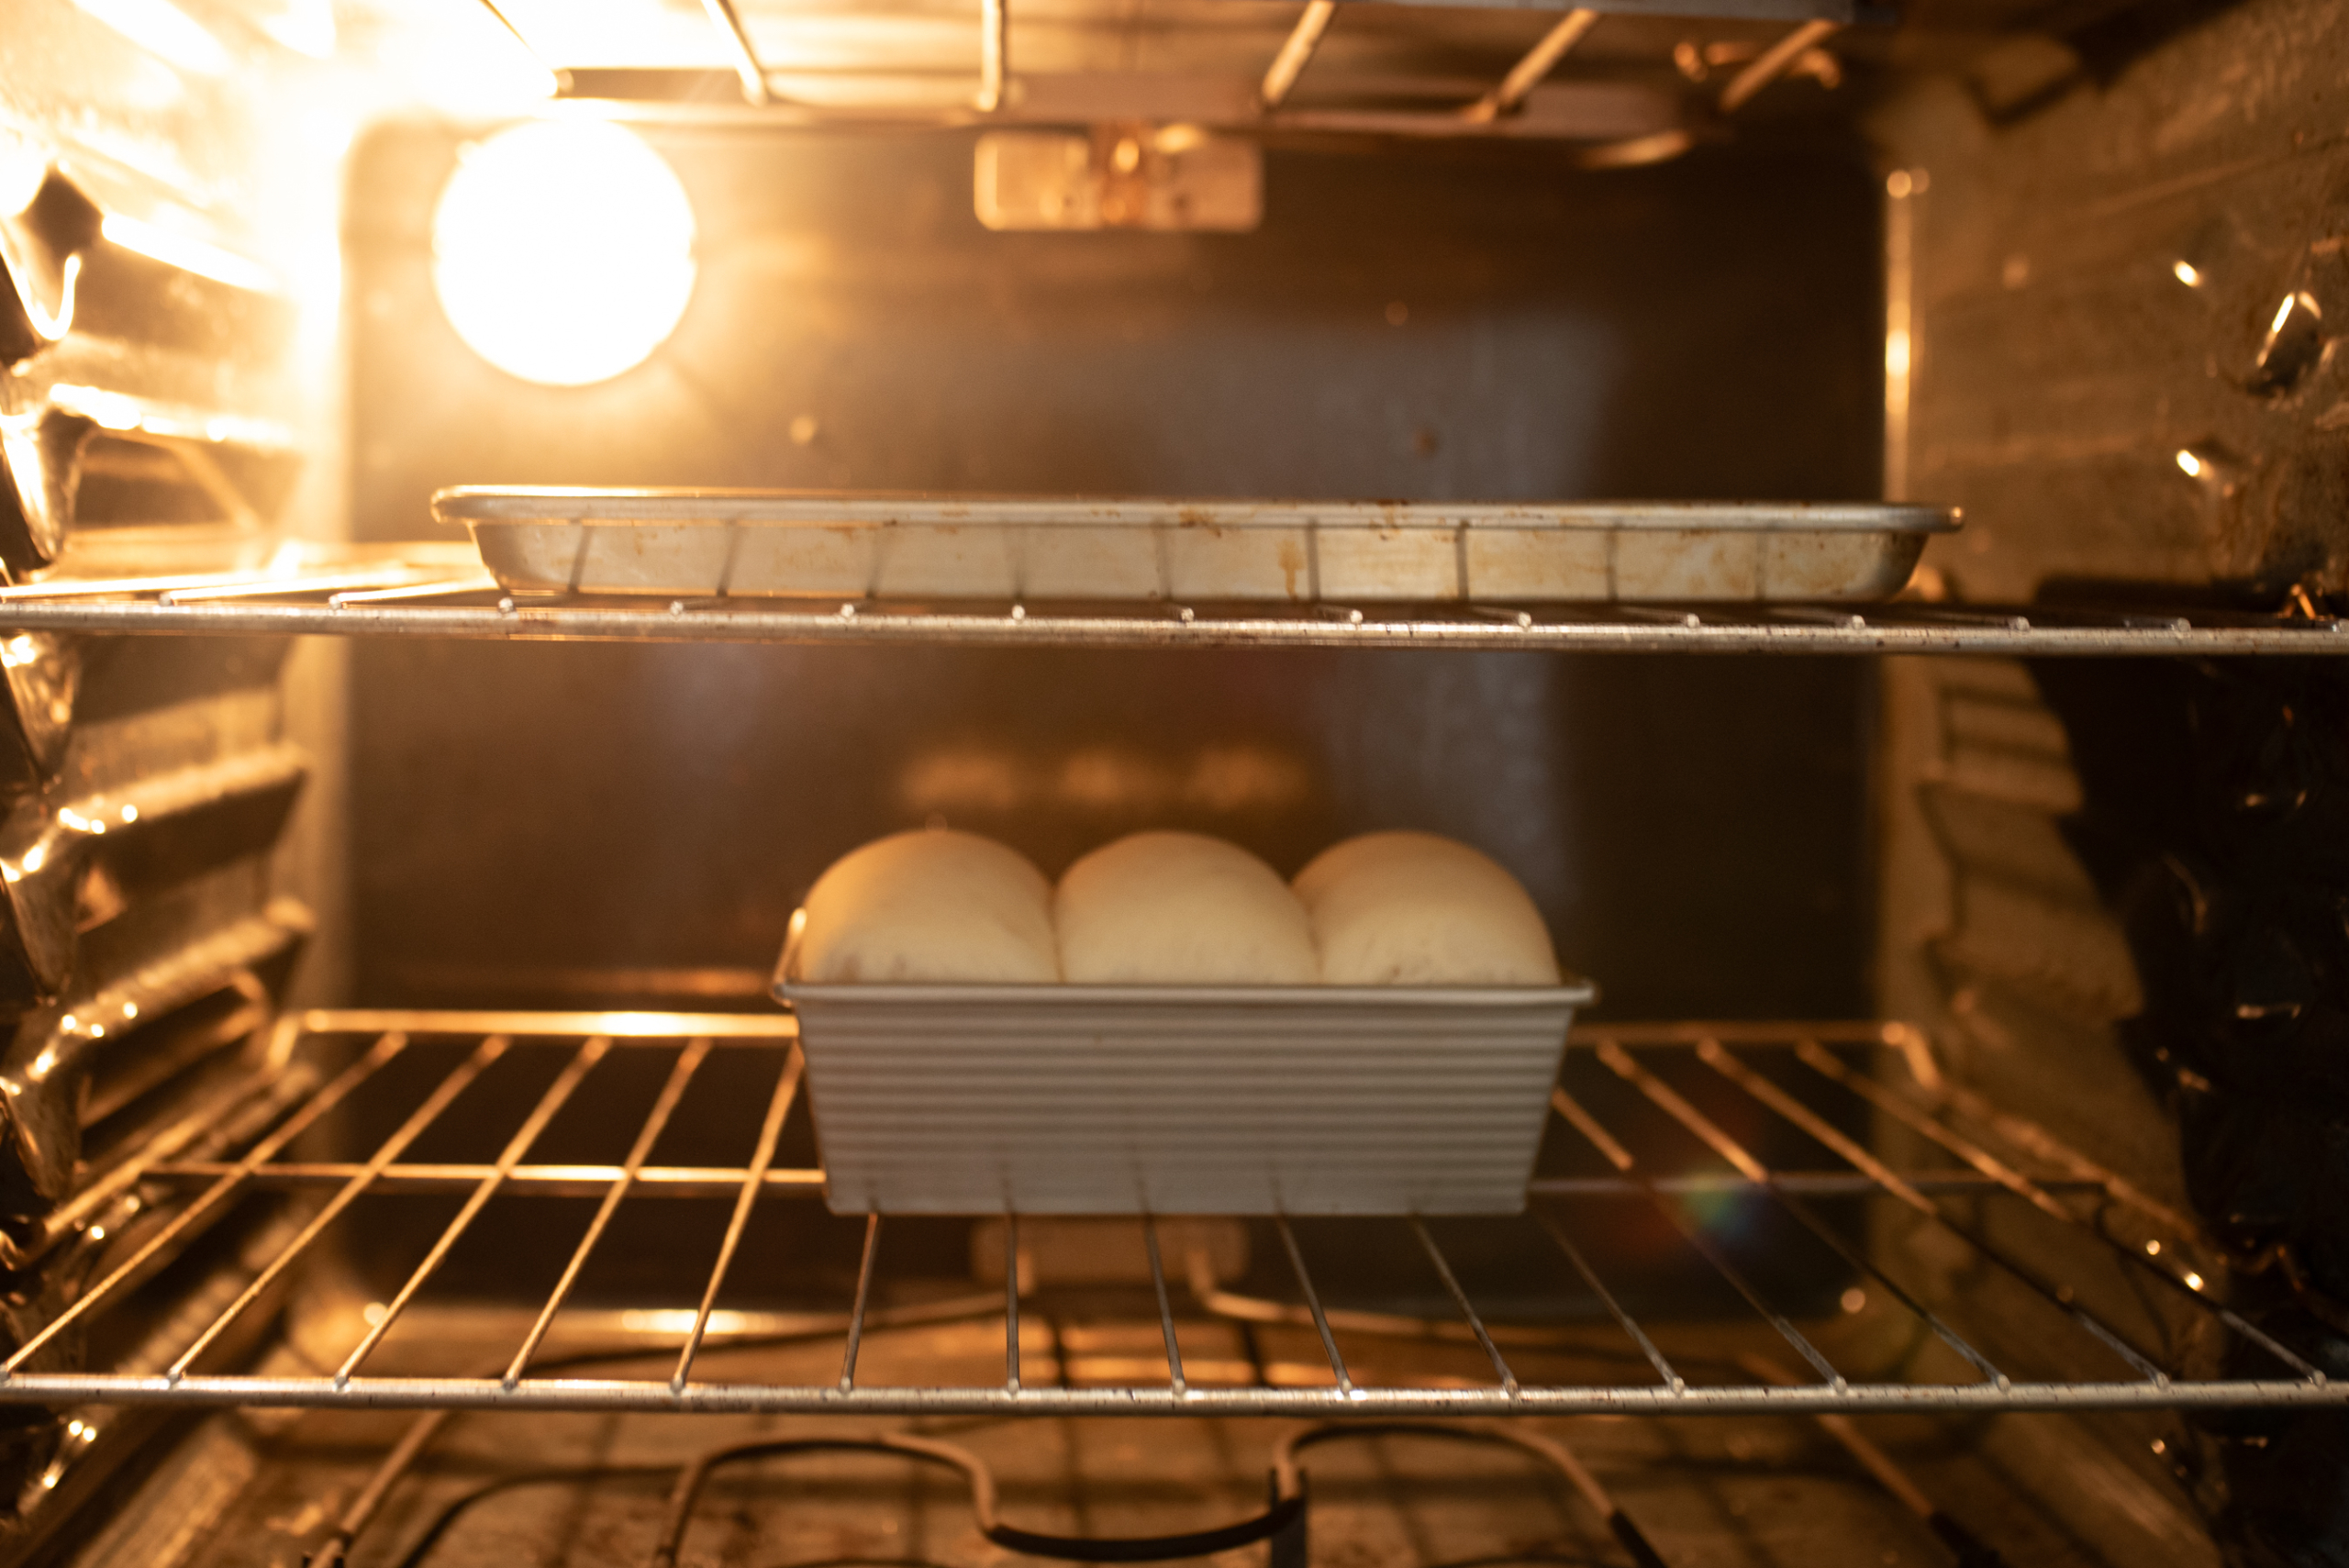
Oh, one more thing. You know how when you’re baking bread, the crust often browns too quickly? Before the inside can fully bake? I have a trick for that. If your oven’s heating element is at the top like mine, just set a cookie sheet on a higher rack between the heating element and the bread pan. Here’s a little visual for ya.
Enough chit-chat from me. I hate it when you have to scroll a ton to get to the recipe. Here you go!
Sourdough Discard Sandwich Bread
Ingredients
- ¾ cup (180 g) warm milk
- 1 tsp (3 g) instant yeast
- 2 TB (25 g) granulated sugar
- ½ cup (120 g) sourdough discard
- 2 TB (28 g) melted butter or neutral oil
- 1 tsp (6 g) fine salt
- 2–2 ½ cups (240–300 g) bread flour (AP works too)
Method
- In a large bowl or the bowl of a stand mixer, combine the warm milk, sugar, and instant yeast. Let it sit for 3 to 5 minutes until it’s slightly foamy. This isn't required, but it helps confirm that your yeast is active.
- Add the sourdough discard, butter or oil, salt, and 2 cups of the flour. Use a dough hook to mix it into a shaggy dough. Add more flour 1 tablespoon at a time until until the dough is soft and slightly tacky, not sticky.
- Knead it for 8 to 10 minutes by hand, or for about 6 minutes in your stand mixer. You want a smooth, elastic dough that can stretch thin without tearing (see: the windowpane test).
- Place the dough in a lightly oiled bowl, cover, and let it rise in a warm place for 60 to 90 minutes until doubled. I like to put it in a cold oven with the light on.
- Gently deflate the dough and shape it into a tight log—or, alternatively, three equal-weight logs as pictured. To create the log, pull the dough into a rectangle and roll it up from the short side like a sleeping bag. Place the log(s) seam-side down in an oiled 9x5-inch pan. (I swear by this USA Pan 1-pound nonstick loaf pan, which is actually more like 8.5 by 4.5 inches.)
- Cover and proof the dough for 30 to 60 minutes, until the dough crowns about 1 inch above the top of the pan. I cover it with a towel and put it in the oven with the light on, then remove the towel for the last stretch as the dough gets close to the top of the pan.
- Bake at 375°F for 25 to 35 minutes, until the bread’s internal temp reaches 190°F. Tip: If the top of your bread tends to brown too quickly, and your oven has a heating element at the top, set a cookie sheet on a rack above your bread during baking. This will block some of the direct heat.
- Remove the bread from the oven and brush the top with melted butter. Let it cool in the pan for 10 minutes, then remove and let it cool fully before slicing. (Hard, I know!)